In this guide
- First, Understand What You Are Actually Looking At
- The Two-Minute Test That Decides Everything
- Where Swirl Marks Actually Come From (It Is Almost Always the Wash)
- Can You Wash a Car Without Scratching It at All?
- The Household "Hacks," Honestly
- When It Is Deeper: Scratches That Do Not Just Polish Out
- Newer Cars, EVs, and Softer Paint
- When to Hand It to a Professional
- Is It Even Worth Fixing?
- The Short Version
How to Remove Swirl Marks and Scratches From Car Paint (Without Making Them Worse)
You wash your car, step back to admire it, and there they are: faint circular scratches spread across the paint like a spider web, catching the sun at exactly the wrong angle. Or maybe it is a single line on the door that you can catch with a fingernail, and now it is the only thing you can see. Search for a fix and you get a wall of contradictions. One video swears a spray of WD-40 makes scratches vanish. A forum insists toothpaste does the job. A detailing shop quotes you a fortune for "paint correction." And somewhere in the middle is the truth: some of these marks come out in ten minutes with the right technique, some need a machine, and a few will never fully disappear no matter what anyone sells you.
This guide sorts the marks that lift easily from the ones that won't, explains exactly why a scratch looks the way it does, and walks you through removing swirl marks and light scratches safely — without quietly sanding away paint you can't get back. It also covers the household "hacks" that do nothing, the ones that make things worse, and how to handle the one factor most car-scratch advice ignores: the fine, constant, abrasive dust of a climate like Kuwait's, where the wrong wash habit puts swirls into your paint faster than anything else.
First, Understand What You Are Actually Looking At
Before you buy anything, know what a scratch physically is. The fix depends entirely on depth.
Modern car paint is not one coat. It's a stack of layers sprayed onto bare metal: primer at the bottom, then color base coat, then a clear coat on top — a layer of clear lacquer that's actually the thickest of the three and protects the color underneath from UV and oxidation Wired Synchrony. Almost everything you polish or correct happens in that top clear layer.
Swirl marks are the mildest version of paint damage. They're masses of very fine scratches in that top clear coat, and because light bounces off them randomly they read as a messy spider-web pattern rather than distinct lines Auto Finesse. On older single-stage paint found on many pre-1980s cars — essentially one layer of colored basecoat over primer, no separate lacquer — the swirls sit in the color coat instead. On modern two-stage paint they're confined to the clearcoat, and that lacquer is the only layer you'll be working on.
That matters because the clear coat isn't infinitely thick. A clearcoat layer is only about 70 microns to begin with. Single-stage basecoat is 40 to 50 microns. Every time you correct a scratch you're shaving a few microns off that finish. Here's the single most important idea in this entire guide: removing a scratch means removing paint. Done occasionally and correctly, that's completely fine. Done every weekend with an aggressive product? That's how people polish straight through their clear coat.
Why the same scratch looks worse on a black car and in the sun
Swirl marks appear to come out of nowhere on dark cars in bright sunlight. A scratch is a tiny V-shaped groove. Light catches the angled side and reflects back so strongly it can look white. On darker paint there's less color around the mark to hide that bright reflection. In direct sun the effect amplifies until light scratches look like severe damageRACV. The mark didn't get worse when you drove into the sun; the lighting just exposed what was already there. This is also why polishing doesn't "fill" a light scratch — it smooths the sharp V into a wide, shallow valley so it stops catching light and effectively vanishes.
The Two-Minute Test That Decides Everything
You don't need special tools. You need a fingernail and good light.
Run a fingernail gently across the scratch. If your nail glides over it without catching, the damage is almost certainly confined to the clear coat — the kind of superficial mark that can be smoothed out and made to disappearChemical Guys. If your nail drops into the scratch and catches on an edge, it's gone deeper than the clear coat. A simple polish won't be enough — you're likely looking at a scratch-repair kit or professional help.
For more detail, inspect the panel under direct sunlight or a bright LED light held at an angle. Shallow swirls show up as faint haziness. Deeper scratches show a defined edge and sometimes a color change along the groove. A useful rule: if you can barely feel the mark and see no color change underneath, it's a clear-coat scratch and the easiest kind to fix.
Know the four categories professionals sort scratches into — they map directly to how much work removal takes:
Key terms
- Clear coat scratches and swirls
- Only the top glossy layer is affected, the colour and primer are untouched. These are the most common and the easiest to correct.
- Surface scratches
- These reach into the colour layer itself but do not expose the primer or metal; they often look like faint white lines and need a little more than a simple buff.
- Primer scratches
- Deeper still, down to the grey primer, rougher to the touch and more visible because of the colour difference, with a real risk of rust if left.
- Deep scratches
- Cut through every layer to bare metal or plastic, the most serious kind, and usually a job for a professional.
Left untreated, anything that breaks past the clear coat leads to rust or peeling paint over time. Even a mark you plan to ignore cosmetically is worth sealing sooner rather than later.
Where Swirl Marks Actually Come From (It Is Almost Always the Wash)
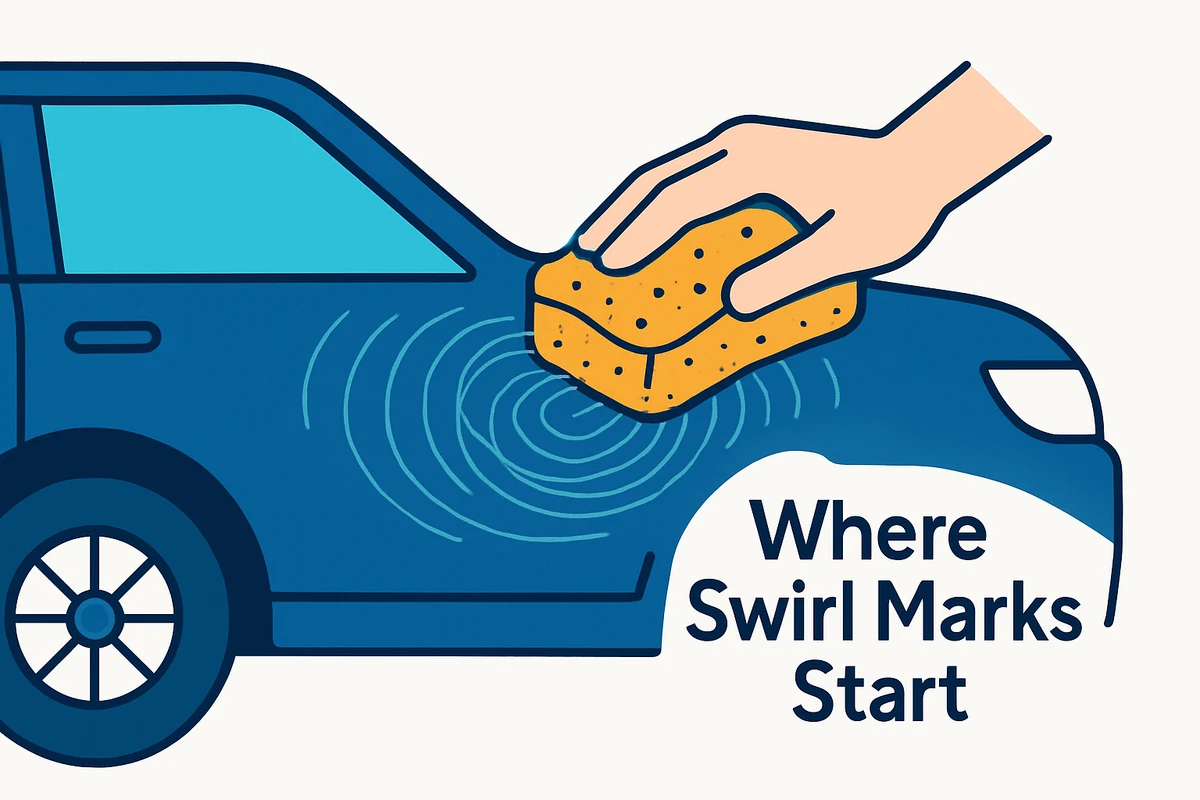
Here's the uncomfortable truth: most swirl marks are self-inflicted. They happen during cleaning, not driving. Understanding how they form is what lets you stop making them.
Swirls form when abrasive particles get trapped between your wash tools and the paint, then dragged across the surface. A few specific habits cause most of the damage:
Circular scrubbing. Wiping in tight circles drags grit repeatedly over the same spot. Each pass cuts a little deeper into the clear coat. The circular pattern is exactly why the finished damage reflects light as those tell-tale swirls.
Dirty or worn wash tools. A mitt, sponge, or bucket holding brake dust, road grit, and metal particles from previous washes turns every wash into a light sanding session — the trapped debris acts like sandpaper against the paint. It doesn't take much: the tiniest piece of grit is enough to inflict swirls.
Automatic brush car washes. The spinning brushes in a typical automatic wash collect grit and grime from hundreds of vehicles a day. That hard, contaminated bristle mixture whips fine scratches straight into your paint. Research shows automatic-wash brushes can pick up dirt and even small rocks that scratch the car. Hand washing is the better option for protecting your paint and its resale value USA Today. Rotating-brush washes are a major contributor to swirl marks on everyday cars.
Harsh cleaning products. Household detergents and strong chemicals strip the protective wax layer off the paint, leaving it more vulnerable to swirls over time.
Wiping dust, bird droppings, or water spots off dry paint creates fine scratches almost instantly. Even a clean microfiber cloth will scratch if used on a dirty surface. Notice what these habits all have in common: grit, friction, and unprotected paint. Change those three things and you change the outcome.
Why this hits harder in Kuwait
Most swirl-mark advice is written for temperate climates where a car picks up a bit of road film between washes. A Gulf climate is a different environment for paint. It's worth thinking through what that means rather than treating your car like it lives in a mild coastal town.
The defining feature is fine, ever-present dust. That dust isn't soft; it's mineral grit. Grit is precisely what turns a wash into a scratching session. The most damaging thing you can do to a dusty car is take a dry cloth to it — wiping dust off dry paint scores fine scratches almost immediately. The practical takeaway: treat a dusty car as a car you're not allowed to touch until it's been rinsed. A thorough rinse to float the grit off should always come before a mitt goes anywhere near the panel.
Heat and sun add a second problem. Washing or polishing in direct sunlight on a hot panel encourages water and product to flash-dry into spots and streaks. The standard advice: keep the car out of direct sun while you work to avoid drying marks and swirls. In a climate where a metal panel in an open car park can become genuinely hot, that guidance stops being a nicety. It becomes the difference between a clean finish and a fresh set of water spots you'll be tempted to wipe away dry — which starts the whole scratching cycle over again. Wash in shade, in the cooler part of the day. Keep the surface wet while you work.
None of this requires special regional products. It's the same safe technique used everywhere, simply applied with more discipline because the local conditions are less forgiving.
Can You Wash a Car Without Scratching It at All?
The honest answer is yes: you can wash a car with near-zero risk of adding swirls. But only if you change how you wash. No product makes paint scratch-proof. Safe technique gets you remarkably close.
The single biggest upgrade is abandoning the one-bucket-and-a-sponge method. A traditional sponge can't pull grit away from the paint; it just pushes grime around on the surface. A proper wash mitt, whether lambswool or microfiber, is soft and designed to lift particles and hold them deep in its fibers, away from the paint, until you rinse it out.
Pair a wash mitt with two buckets — one of fresh soapy water, one of clean rinse water — so you can rinse grit out of your mitt after every pass instead of carrying it back onto the car. A grit guard in the bottom of the rinse bucket traps fallen particles below the surface so they don't get stirred back up onto the mitt. Before you make contact at all, a pre-wash rinse or a foam left to dwell loosens and lifts bonded dirt so it rinses away instead of grinding under your mitt during the wash — this is exactly why detailers treat the pre-wash step as non-negotiable.
When you do wash, work in straight, overlapping lines rather than circles. Straight passes leave far less light-catching marring than circular ones. Start on the cleanest panels and work toward the dirtiest — typically roof first, then glass, bonnet, upper sides, and down to lower panels and bumpers last — so you're not transferring heavy grit from the sills up onto clean paint. Treat your tools as disposable the moment they hit the ground: if you drop a mitt or cloth, retire it. You can never be certain you've cleaned the floor grit out of it. Use separate cloths for paint, wheels, and interior. Replace mitts regularly.
If you must use a machine wash, the type matters. Touchless automatic washes, which clean with high-pressure water and chemicals rather than brushes, are generally safer for your paint than brush-based systems. The trade-off: they may not clean as thoroughly. A careful hand wash remains the best option for protecting the finish.
How to Remove Swirl Marks and Light Scratches, Step by Step
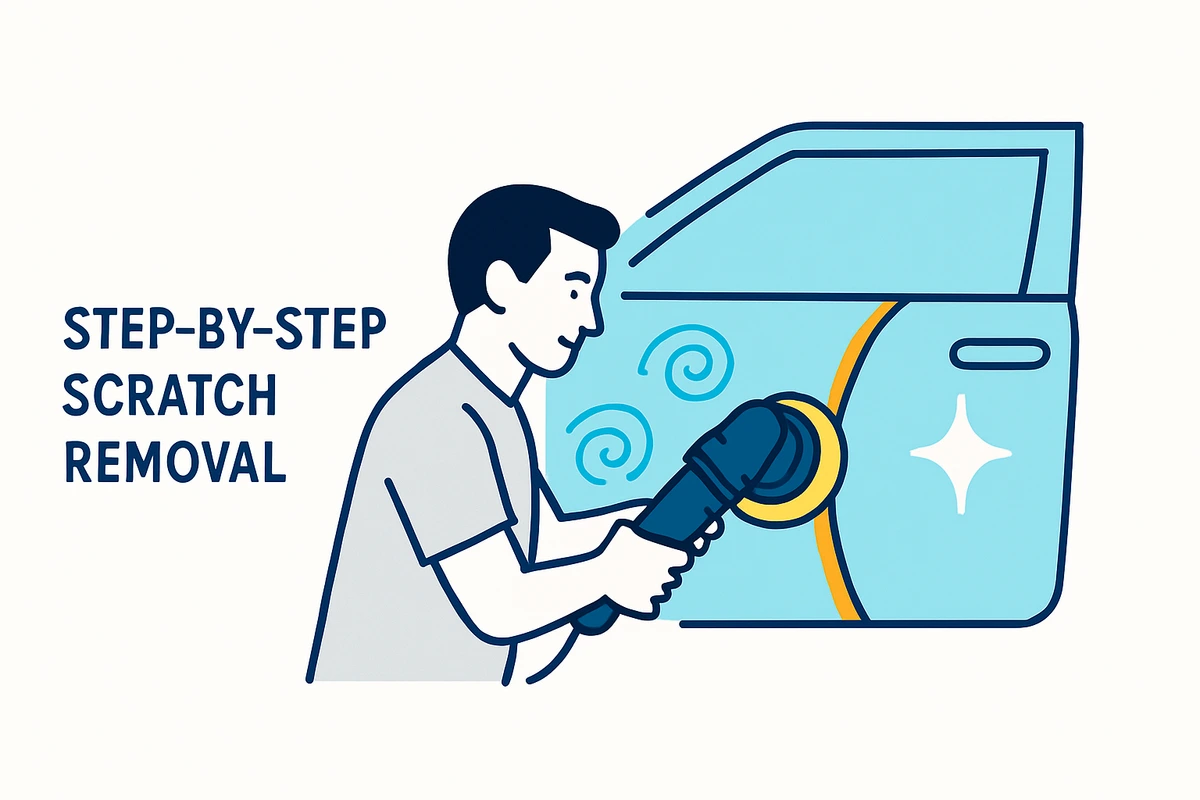
If your marks pass the fingernail test — the ones that don't catch — you can very likely remove them yourself at home. Removal works by polishing: you gently remove a microscopic layer of clear coat to level the surface around the scratch and restore a smooth, reflective finish. Whether it succeeds depends on three things: how deep and severe the swirls are, how much clear coat you have left, and the products and method you use.
-
1
Wash and dry the car properly first
Never polish a dirty surface — you'll just grind trapped grit into the paint. Do a full, safe wash as described above, using a pH-neutral shampoo and the two-bucket method. Dry with a clean microfiber drying towel.
-
2
Decontaminate the paint
Even after washing, bonded contaminants like tar, sap, and stubborn brake dust can remain stuck to the surface. Polishing over them just drags them around and inflicts more damage. Use a clay bar or clay mitt with plenty of lubricant, working gently in straight lines. Then rinse and dry again.
-
3
Choose the least aggressive polish that will do the job
Polishes and compounds are really the same product at different coarseness levels — a coarse "compound" cuts quickly but leaves a rougher finish that needs refining with finer products afterward, a bit like moving from a grinder to fine sandpaper on wood. For swirl marks, start with the least aggressive option: a light polish for minor swirls and haze, a medium polish for more noticeable patterns. Avoid heavy compounds unless the damage is genuinely severe, because compounds remove more clear coat. Most swirl marks are relatively fine defects to begin with, no matter how alarming they look.
-
4
Test on a small area before committing
Professionals who don't know a car's history always test a small section first. They start with the finest compound and pad available and only step up if that doesn't have enough cut. There's no point reaching straight for the coarsest compound if it's not needed — all you do is cut away paint unnecessarily and then spend more time refining the finish back to flawless.
-
5
Polish by hand or, better, by machine
You can polish by hand with a foam applicator. For a genuinely minor scratch, applying a scratch remover or rubbing compound to a clean microfiber cloth and rubbing back and forth over the spot for about sixty seconds can be enough. But be realistic: hand work removes only very light swirls and lacks the sustained power to address moderate defects that need real paint leveling. A dual-action (DA) polisher delivers more consistent results with far less risk than a rotary buffer, whose concentrated friction and heat can burn straight through the clear coat if you're inexperienced. Hands-on testing shows: hand polishing produces only marginal improvement while a machine makes light scratches virtually invisible — though moderate and deep ones still remain. If you're using a machine, work a small section at a time, roughly nine times the area of your pad. Move slowly — about an inch of travel per second. Don't drown the pad in product; two or three pea-sized drops on a five-inch pad is plenty. Start the machine on low speed to spread the product, then raise the speed to work the compound fully. The abrasives in a compound break down through heat and friction into progressively finer particles — so you must work them all the way through until the residue turns clear. That signals the compound has finished refining. Then make one more slow pass on low speed to finish.
-
6
Wipe off the residue and check under good light
Remove the polish residue with a clean microfiber cloth and inspect the section under direct sunlight or an inspection light before moving on. This way you know the swirls are actually gone and not just hidden by wet product.
-
7
Protect the paint immediately
Freshly corrected paint is bare and vulnerable to new damage from the very first wash. Seal it straight away with a protective layer — carnauba wax for warmth and gloss, a synthetic sealant for durability, or a ceramic spray coating for longer-lasting protection. Protection isn't just about shine: wax, sealants, and coatings reduce friction during future washes and make contaminants easier to rinse off. This directly lowers the risk of new swirls.
The rule that keeps you from ruining your paint
Because every correction removes a few microns of a clear coat that's only about 70 microns thick to start with, paint correction is an occasional job — a couple of times a year at most, not something you do every time you wash. Polish away a little every week and you'll eventually cut through to the layer beneath. This is exactly why professional detailers use a paint depth gauge before correcting an unfamiliar car, to confirm there's enough clearcoat to level safely without breaking through. The everyday version of that discipline is simple: correct only when you genuinely need to, and put your ongoing effort into a safe wash so you rarely need to correct at all.
The Household "Hacks," Honestly
Search "car scratches" and you'll drown in kitchen-cupboard fixes. Here's a straight assessment of the popular ones.
WD-40. This is the internet's favorite scratch trick, and it's a mirage. It removes nothing; it hides, briefly.
Toothpaste. Toothpaste is mildly abrasive, and on the very lightest clear-coat mark it can act like an extremely weak polish. But like WD-40 it belongs in the category of temporary, last-resort tricks rather than a real repair. For anything beyond the faintest haze it does effectively nothing. A purpose-made light polish does the same job properly and safely.
"How do I remove a scratch without polish?" This is a common wish and it deserves a blunt answer. Removing a scratch means physically leveling the paint around it. Leveling paint means some form of abrasive — that's what polish is. The no-polish "solutions" are all really the concealers above (oil or filler that hides the mark temporarily), not removal. There's no method that permanently erases a scratch without abrading the surface. Anything promising otherwise is masking, not fixing. Glazes and filler-heavy products fall in the same bucket: they hide defects for a few weeks and then haze up as that filler wears off in washing, revealing the swirls again.
When It Is Deeper: Scratches That Do Not Just Polish Out
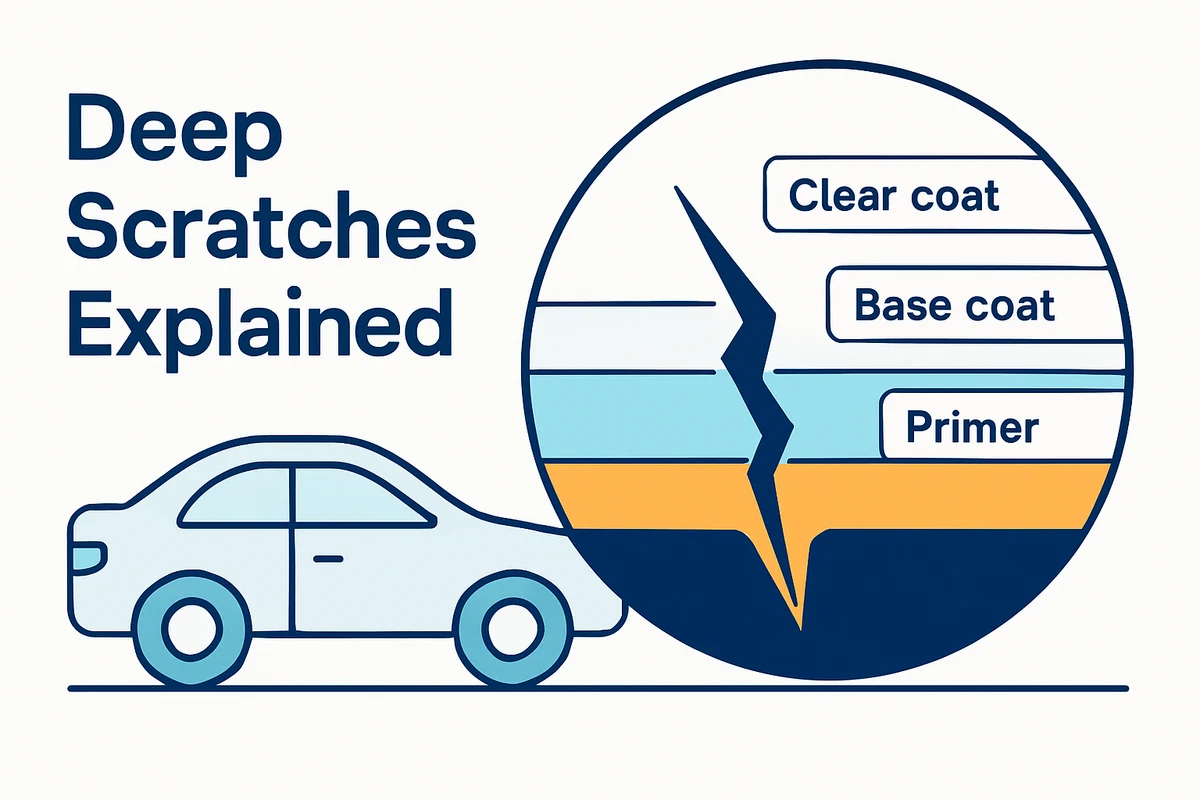
If your fingernail caught on the scratch, no amount of polishing will fix it — polish simply isn't abrasive enough to reach the bottom of a deep groove. Set your expectations here honestly: even professional-grade products often can't completely eliminate a deeper scratch. The realistic goal becomes making it much less noticeable.
For a surface scratch that's reached the color coat but not the primer, a scratch-repair kit is the usual DIY route: these typically include a filler or putty to fill the groove, a leveler to remove the excess, and fine abrasive to smooth it, sometimes with color-matched touch-up paint. For a scratch visible even when you wet it down, the surface has to be physically sanded with a fine abrasive before compounding and polishing — and sanding your own clear coat is exactly as nerve-wracking as it sounds, because you're deliberately taking the shiny surface down to a hazy matte before buffing the shine back.
For the deepest scratches — the ones that expose primer or bare metal — sanding alone won't do it. The V-groove has to be filled with paint or filler and then sanded and polished level. If you attempt touch-up paint, the technique that works is counter-intuitive: rather than brushing paint on top, dab a tiny amount inside the scratch with a fine point. Use as little paint as possible. Never lay it over the surrounding good paint. Let each coat dry before the next. Even done carefully, the result on a genuinely deep scratch is usually "less obvious," not invisible. But there's a real reason to bother with the ugly bits: a scratch through to bare metal will rust if left, so filling and sealing it protects the panel even when it doesn't look perfect.
What about scratches on the windshield?
People often lump glass scratches in with paint scratches, but they're a different problem. A windshield is glass, not lacquer. The compounds and polishes described here — formulated to level a clear coat — aren't the right tools for it. The household glass "fixes" like toothpaste are as unreliable on glass as they are on paint. Light glass marring sometimes responds to a dedicated glass polishing product. But a scratch you can feel with a fingernail on the windshield sits in your line of sight and affects visibility. That makes it a safety item rather than a cosmetic one. That's a case to have looked at by a glass specialist rather than experimented on at home.
Newer Cars, EVs, and Softer Paint
If your car is recent, the margin for error is smaller than it used to be. Many modern vehicles, including EVs, are finished with thinner clear-coat layers than older cars, partly to save weight. Less material to work with. Swirls that appear more quickly. Some EVs also use relatively soft clear coats; soft paint can be easier to correct, but it's also more prone to picking up swirls during ordinary washing and drying. Safe technique becomes even more important. The large, flat, crease-free panels common on newer cars and EVs also show swirls more clearly, especially in sunlight. For a new car the smartest move is to start with the least aggressive correction method and lean heavily on protection and safe washing. You're preserving the thin clear coat rather than repeatedly cutting into it.
When to Hand It to a Professional
DIY works well for light swirls and shallow marks. Call in a professional when the swirls are deep or widespread, when the paint is soft or thin, when you're simply not confident with polishing tools, or when the car is high-value or newly bought and you don't want to risk it. Professionals bring paint depth gauges, multi-stage polishing, and equipment that produces safer, more consistent results than most people can achieve by hand. For a scratch through to metal, or one covering multiple panels, a proper repair ensures correct color matching and a finish that keeps rust out.
Is It Even Worth Fixing?
Here's the plainly put answer nobody selling scratch removers wants to give: swirl marks are cosmetic. They don't affect how the car drives or its safety, and they're generally treated as ordinary wear that standard comprehensive insurance doesn't cover. What they do affect is appearance, and appearance drives how a used car is valued — swirls and scratches feed into depreciation. A well-kept exterior signals careful ownership when it's time to sell or trade in.
So the sensible answer depends on your goals. If you want the car to look its best and you plan to sell it eventually, correcting the swirls and then protecting the paint is genuinely worthwhile. If it's a daily driver you intend to keep and you don't mind a few marks, there's no shame in leaving light swirls alone — as one seasoned restorer put it, a daily driver left in car parks is going to keep getting scratched. Chasing every mark may not be worth the trouble. What is always worth doing, whichever camp you fall into: fix the wash habits that cause swirls in the first place. Correction removes paint you can't get back. Prevention costs nothing but a little discipline and keeps the finish looking freshly detailed between polishes.
The Short Version
The bottom line
Swirl marks and light scratches live in the clear coat, and they're almost always put there during washing — by grit, friction, and unprotected paint. The fingernail test tells you which marks will polish out and which won't. The ones that pass come out with a careful wash, a decontamination step, the least aggressive polish that works, and immediate protection afterward. The household hacks mostly hide rather than remove. The deep ones may never fully disappear. But the real win isn't in removal at all — it's in washing so carefully that you rarely make a swirl in the first place. In a dusty, sun-baked climate that means rinsing before you touch, working in the shade, and never dragging a dry cloth across dirty paint.
If keeping your paint swirl-free sounds like more time and discipline than your week allows, that's exactly the gap a proper mobile car wash is built to fill. Master Wash brings a safe, hand-wash approach to your home or workplace across Kuwait — the pre-rinse, two-bucket, straight-line technique described here — so your car gets genuinely clean without the automatic-brush swirls that come from doing it the fast way. Book a mobile car wash with Master Wash when you'd rather protect your paint than spend a Friday correcting it.