In this guide
- First, Figure Out What You're Actually Looking At
- The One Rule That Keeps You From Scratching the Paint
- How to Remove Tree Sap From Car Paint
- How to Remove Road Tar and Asphalt Spots
- Removing Bug Splatter and Bird Droppings
- How to Remove Adhesive, Glue, and Sticker Residue
- How to Remove Paint Overspray: Reach for a Clay Bar
- The Household Remedies and Myths, Sorted Out
- Is the Mark Permanent, and When to Stop
- Prevent It Coming Back
- Doing This in Kuwait's Heat and Dust
- Cleaning Up
You run your hand across the door of your freshly washed car and it snags. There's a scatter of black speckles low on the bumper, a hard amber bead near the mirror, a gummy grey smear where a parking sticker used to be, or a whole panel that's gone from smooth glass to fine sandpaper overnight. You wash it again and nothing budges. Then you search online and the internet immediately splits into warring camps. One video swears WD-40 melts anything off. A forum insists Goo Gone will strip your paint to bare metal. Someone's smearing peanut butter on their bumper, someone else is reaching for a razor blade, and a detailer is telling you the only real answer is an expensive machine polish. Underneath all that noise is a much simpler truth: most of this stuff comes off safely in a few minutes once you know what it actually is, a small number of "hacks" genuinely damage paint, and the one thing that decides which method to use is something almost nobody explains first. This guide walks through all of it in plain language. It explains how to tell tar from sap from glue from bonded overspray before you touch anything, the one rule that keeps you from scratching the paint while you clean, exactly how to remove each type from least aggressive to most, which household remedies really work and which quietly do harm, whether the mark left behind is permanent, and how to adapt the whole routine to the heat and dust of a climate like Kuwait's. By the end you'll know what to reach for, what to leave in the cupboard, and why.
First, Figure Out What You're Actually Looking At
Most rushed guides skip this step, and it's the one that matters most. "Sticky stuff on paint" isn't one problem with one solution. It's at least three different problems, and using the right method for the wrong contaminant is how you end up putting swirl marks and dull patches into paint that was fine to begin with. Before you spray anything, work out which of these you have.
Key terms
- Organic sticky contaminants: tree sap, road tar, bug splatter, bird droppings
- These are soft, sticky, and usually raised. Sap shows up as a clear or amber bead you can catch with a fingernail. Road tar is black or dark-brown spots and streaks, usually low on the car, on the bumper, sills, and behind the wheels. That tar isn't really "tar" in the old sense at all; it's asphalt—the same sticky binding material that holds paved roads together. It gets kicked up off fresh or repaired surfaces by passing tyres, which is exactly why it's designed to stick and why it clings so stubbornly (JD Power). Bug remains and bird droppings dry into hard crusts. What connects this whole family is that they respond to a solvent that dissolves or softens them, and every one of them can damage the paint if it sits too long, so none of them should be ignored (Turtle Wax).
- Adhesive and glue residue: sticker leftovers, tape residue, decal glue, trim adhesive
- This is the gummy, often grey or yellowish film left behind when a sticker, strip of tape, or decal gets peeled off. It feels tacky rather than gritty, and it usually sits in a neat rectangle or line that matches whatever used to be stuck there. The whole challenge here is lifting the glue off without dragging the paint off with it (CarParts.com).
- Bonded paint overspray: a rough, gritty mist of tiny dots
- This one feels completely different from the others. Instead of a few discrete spots you get a fine haze of hundreds or thousands of tiny specks across a whole panel, and the surface feels like sandpaper when you glide your fingertips over it. This is atomised paint that's drifted through the air and chemically bonded to your clear coat—often from a nearby construction job, a neighbour spray-painting a fence, road-line-marking crews, or a body shop letting overspray drift out of its bays (Titan Coatings). It's not a solvent problem; it's a decontamination problem, and it needs a clay bar, not a spray bottle.
A quick sanity check helps: rub a clean fingertip over the affected area. Discrete raised spots that a fingernail can catch point to organic contaminants or glue. A uniform, all-over gritty roughness like fine sandpaper points to bonded overspray or embedded fallout. That single rough-feel test tells you whether you're heading for a solvent (spots) or a clay bar (all-over grit).
The One Rule That Keeps You From Scratching the Paint
Here's the mistake that turns a five-minute job into a body-shop bill: attacking a dry, dirty contaminant directly, before washing. The paint around any spot of sap or tar is coated in ordinary road grit, and grit is abrasive. If you start scrubbing or scraping over it, you grind that grit across the clear coat and leave behind exactly the fine swirl marks you were trying to avoid. Removing tar or scraping bugs off without first washing the car can cause damage, which is why every credible method starts with a wash.
So the sequence is always the same, and it's worth committing to memory:
-
1
Wash the whole car first
Use a proper car shampoo, ideally using two buckets—one for your soapy wash mitt and one to rinse the mitt in—so you're lifting grit away from the paint rather than dragging it back and forth. A pH-neutral car soap cleans without stripping any wax or sealant you already have on the paint. A surprising amount of fresh sap and light tar will already soften and lift during this step alone.
-
2
Work from least aggressive to most aggressive
Always try the gentlest method that has a chance of working, and only escalate if it fails. For overspray specifically, that ladder runs from a clay bar, to a dedicated solvent, to a machine polish, and only as an absolute last resort to wet sanding. The same philosophy applies to every contaminant on this page: reach for soap and a soft solvent long before you reach for anything abrasive.
-
3
Use clean microfiber and change it often
Microfiber traps dirt deep in its fibres and pulls it away from the paint instead of dragging it across the surface, and it leaves far less lint than a rag or an old towel,. Once a cloth is loaded with tar, switch to a fresh one—a dirty cloth just rubs the contaminant back into your paint.
-
4
Test any solvent on a hidden spot first
A low door jamb or an inside edge is perfect. Apply a little, see how it reacts, and only then move to a visible panel.
-
5
Reseal what you stripped
Almost every effective solvent will thin or remove the wax underneath the contaminant, so plan to re-wax the area afterwards to restore shine and put the protective barrier back (WD-40,.
Follow that framework and most of what follows is just choosing the right solvent for the right contaminant.
How to Remove Tree Sap From Car Paint
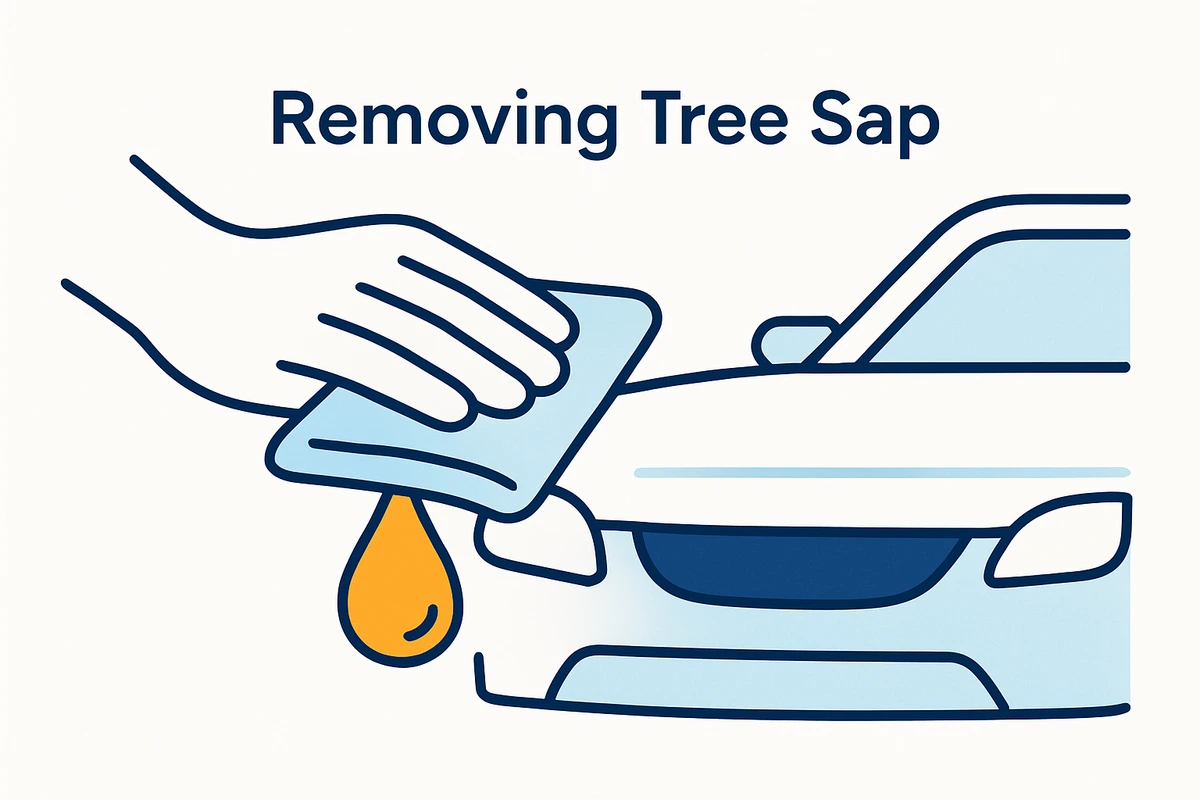
Sap is what people panic about most, and the panic is half-justified. Left alone, sap won't ruin your paint the instant it lands, but it should never be ignored: over time it can etch down through the clear coat and leave discolouring and staining behind (Cars.com). Sap is generally acidic, and prolonged contact begins to erode the paint's protective qualities and can leave stains in the clear coat (AutoZone). The practical takeaway is simple: the ideal time to remove sap is as soon as you notice it, and getting to it within a few days—before it hardens—prevents most of the lasting damage.
The method itself is gentle and works on the great majority of sap:
- Wash and dry the car to give yourself a clean surface to work on.
- Soak the spot in a solvent. Pour a small amount of rubbing (isopropyl) alcohol, or a dedicated bug-and-tar remover, onto a clean microfiber cloth and lay it over the sap. Let it sit for at least 30 seconds so the solvent can work into the sap before you do anything else,.
- Rub gently in a circular motion until the sap starts to dissolve, and repeat the soak-and-rub cycle for anything stubborn,. Some sap is genuinely cumbersome and will need several passes.
- Rinse and reseal. Rinse the area with clean water, then finish with a layer of protective wax or a few mists of a quick detailer to restore shine and protect the paint you just exposed,.
If you don't have alcohol or a dedicated remover on hand, a couple of gentler options exist. Warm water with a small amount of mild dish soap, soaked on the spot for a few minutes to soften it, will remove sap—it's just slow and not aggressive, so expect to work at it. A thick paste of baking soda and water, applied and gently rubbed in a circular motion, is another mild home route.
Sap on glass is a slightly different story. If it's still fresh on your windscreen, resist the urge to run the wipers—you'll just smear long gooey streaks across your line of sight. You can treat glass with the same soak-and-rub approach, substituting a glass cleaner for the wax at the end. For sap that's hardened into a tar-like lump on glass only, a fresh box-cutter or razor blade held flat against the surface can shave it off, but keep the blade closely flat so you don't scratch the glass, and never bring a blade near paint.
How to Remove Road Tar and Asphalt Spots
Tar spots are the black flecks you find low on the car after driving past roadworks, over a freshly filled pothole, or near a construction site. Because that asphalt is engineered to be sticky and to bind, it can be difficult to shift and, like sap, it can damage paintwork if it's left to sit,. The good news is that acting early keeps the job easy and reduces the chance of scratching the paint during removal.
The most reliable route is a dedicated tar remover. These are specialised sprays that use dissolving agents to break tar down without harming the clear coat, and many of them are citrus-solvent (d-limonene) based and rated as safe for clear coat, chrome, and most plastics. Usefully, most tar removers double as bug and sap removers, so a single bottle handles the whole organic-contaminant family, which is a good reason to keep one in the boot. The process:
- Wash the car to clear away non-tar grime first.
- Wet a microfiber cloth with the tar remover, or spray a little directly onto the spot—go easy, you don't need much at once.
- Rub in a circular motion with light pressure. The tar breaks down progressively; let the solvent do the work rather than grinding at it, and swap to a clean cloth once the one you're using loads up with tar.
- Wax the area afterwards to condition the paint and restore the shine where the tar and the wax underneath it have been stripped.
Turtle Wax's approach is the same shape and worth noting for stubborn spots: after washing, spray a bug-and-tar remover generously on the marks that won't budge, let it soak for about a minute so it can lift and dissolve the stuck-on substance without damaging the protective coating, then rinse, dry with microfiber, and repeat if needed before finishing with wax.
Removing Bug Splatter and Bird Droppings
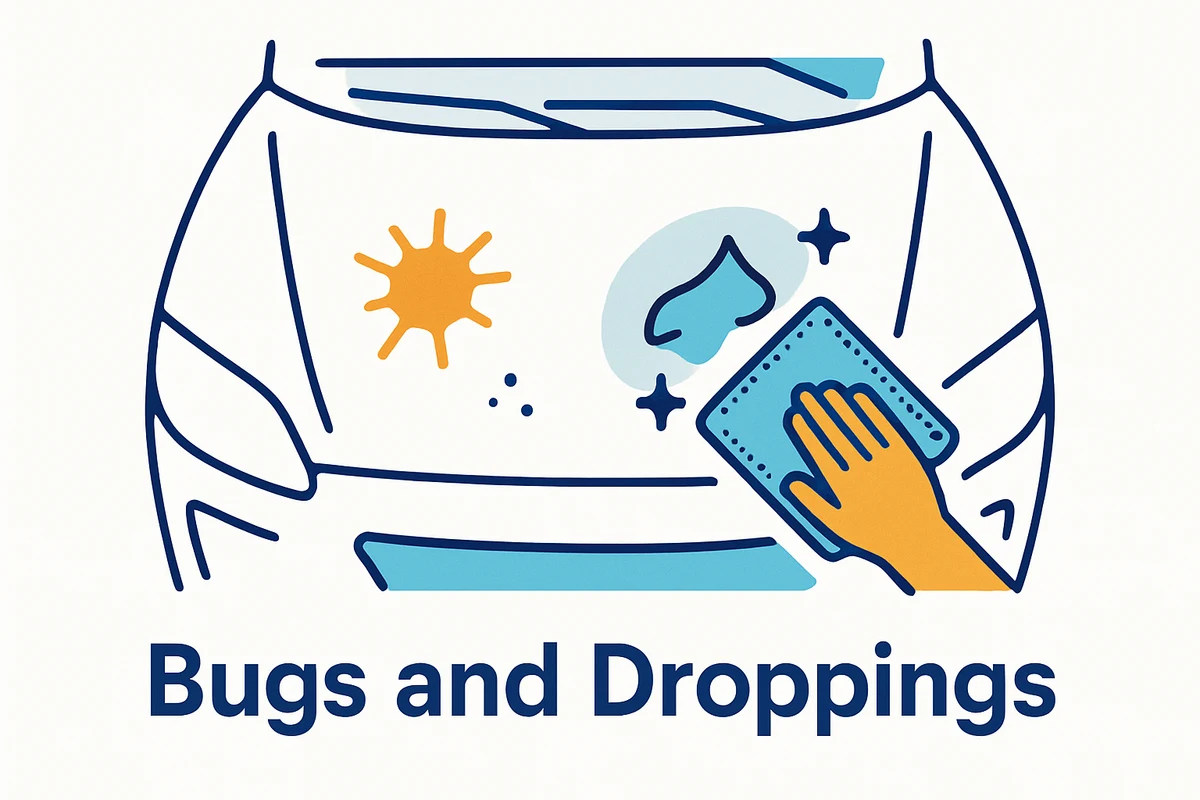
These two ride along with the tar-and-sap family because the fix is nearly identical, but they deserve a word because they're more corrosive than they look. Some insects contain acidic substances that can eat away at the clear coat protecting your paint, and once bugs dry out they become genuinely difficult to remove. Bird droppings and tree sap sit in the same category of substances that can stain and tarnish exterior surfaces if they're not dealt with promptly. The lesson is timing more than technique: wash them off as soon as you can, treat any dried remnants with the same bug-and-tar remover soak you'd use for tar, and for extra-sticky bug spots on glass a little baking soda in water, left to soak, helps loosen them. Then wax to restore protection and make the next round of bugs easier to wipe away.
How to Remove Adhesive, Glue, and Sticker Residue
Peel a sticker, a parking permit, a dealer decal, or a strip of tape off your paint and you're usually left with a gummy film. The entire goal here is to remove that adhesive without scratching the paint off underneath, and there are several gentle ways to do it—start with the mildest.
Warm, soapy water. A lot of adhesives are water-soluble. Dip a rag in warm soapy water, hold it on the residue for several minutes to soften the glue, and it often wipes straight off.
A hair dryer. Warming the residue with a hair dryer softens the glue enough to wipe it away, often with no chemicals at all—a good first move on tape and decal glue.
Nail polish remover (as a mild solvent). Nail polish remover is a non-acidic solvent that's generally safe on car paint and works well on more stubborn adhesives; for best results mix it with water, let it soak into the residue, and wipe away with a rag. One caution: it may not be safe on delicate parts such as plastic window trim, so keep it off the plastics and test first. The same product will also lift asphalt or tree sap if you're caught short.
A dedicated automotive adhesive or tar remover. For anything that resists the above, a solvent made for cars is the safe escalation. Automotive solvents are engineered to dissolve tar, adhesive, and similar contaminants without immediately trashing the factory clear coat—but test it on a hidden spot, apply it on a cool panel out of direct sun, let it sit for the 30 to 60 seconds the maker recommends, gently wipe rather than scrub, and wash the area with soap and water afterwards to neutralise any residue.
A plastic scraper or razor, used correctly. For a raised bead of glue, a razor blade or a window scraper can be one of the easiest tools—but only if you hold it at a shallow angle, keep the blade as flat as possible, use a fresh undamaged blade, and never press down hard. On glass this is low-risk; on paint it's easy to gouge, so favour heat and solvents on painted panels and save the blade for glass.
How to Remove Paint Overspray: Reach for a Clay Bar
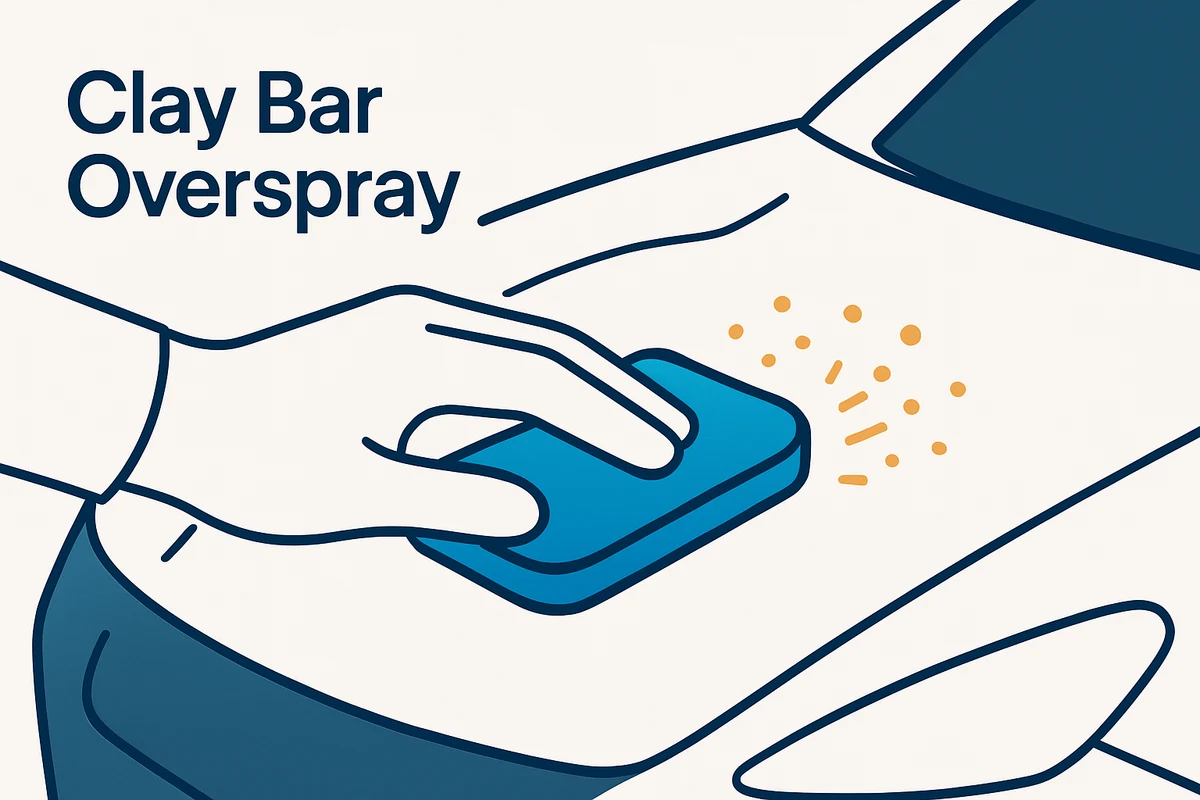
Overspray is the odd one out. Because it's cured paint that's bonded to your clear coat, no amount of spraying and wiping will dissolve it—and the longer you leave it, the deeper those particles work into the clear coat, making them harder to remove and risking permanent damage. The correct primary tool is a detailing clay bar, which physically shears the bonded specks off the surface without being harsh on the clear coat, and for most overspray a medium-grade clay is the right choice.
Claying is simple but technique-sensitive. Get it wrong—specifically, too little lubricant or a dropped, dirty bar—and you'll put fine scratches (called marring) into the very paint you're trying to save. Done right:
- Wash the car spotlessly first. Any loose grit left on the surface will get trapped in the clay and dragged across the paint, so a proper two-bucket wash is non-negotiable; clay a dirty car and you're guaranteed to scratch it.
- Work on a wet panel. After rinsing, leave the surface wet and knead about a third of the clay bar in warm hands until it's soft, then flatten it into a small pancake across your fingers.
- Lubricate generously. Spray a quality clay lubricant, or a dedicated quick detailer, all over a small two-foot-by-two-foot section. You genuinely can't use too much—the lube is the slick barrier that lets the clay glide instead of grabbing.
- Glide, do not press. Slide the clay across the lubricated section with light fingertip pressure. You'll feel and hear a gritty resistance as it grabs the overspray; when the resistance disappears and the clay glides silently, that section is done.
- Wipe, fold, and move on. Wipe the section with clean microfiber and feel it—it should be glass-smooth. Fold the clay in on itself to expose a clean face, and move to the next section.
Two rules protect you the whole way through. If you drop the clay on the ground, throw it away—it's now embedded with grit that will act like sandpaper, and no rinse will fix that. And never clay in direct sunlight on a hot panel: the lubricant evaporates too quickly and the clay turns gummy, so always work in the shade on a surface that's cool to the touch.
If a clay bar and lube won't shift the specks, the overspray is bonded aggressively enough that you escalate carefully: a dedicated automotive solvent next (with a test spot and a 30-to-60-second dwell), then a machine polish with a cutting compound, which shaves off a microscopic layer of clear coat to level the surface just below the embedded specks. That last step takes skill—too much pressure, the wrong pad, or lingering in one spot can burn straight through the clear coat, which is a body-shop repair—so if a safe solvent has already failed and the overspray still feels like sandpaper, that's the point to stop and call a professional detailer rather than risk the paint. For those impossibly stubborn specks on glass only, a fresh single-edge razor held flat at a 45-degree angle and pushed forward in one direction will shave them off—but never on paint, plastic trim, or exterior tint, and never dragged sideways or on its corners.
The Household Remedies and Myths, Sorted Out
This is where most searchers get lost, because every "hack" has a champion and a hater. Here's what the evidence actually supports, product by product.
WD-40 on tar: works, with two caveats. WD-40's own guidance is to wash the car, park it in the shade, spray WD-40 onto the tar, wait a few minutes, and wipe it away with a cloth. It works because it's an oil that penetrates the tar and lubricates it so it slides off with light pressure. The two caveats matter, though. First, WD-40 may soften or remove any wax or polish already on your paint, so you must test it on a hidden spot first and re-wax afterwards. Second, clean the treated area twice to remove every trace, because leftover product can cause long-lasting damage if it's not fully washed off.
Goo Gone on paint: usable for these jobs, with care. Goo Gone, like WD-40, is an oil-based product that penetrates tar and slides it off with a little pressure, applied to a cloth or directly and left to soak for 10 to 30 minutes before rubbing off. It can also be effective on tree sap—just follow the product's own instructions carefully to keep it safe. Used as directed on a contaminant, it lifts the contaminant rather than your paint, but treat it like any solvent: a test spot, a gentle touch, and a re-wax afterwards. On the common "Goo Gone versus Goof Off, which is better" question, be honest with yourself—the safe, supported path is a product specifically intended for automotive use, applied per its instructions and tested on a hidden area first, rather than assuming any general-purpose remover is paint-safe.
Peanut butter on tar: genuinely works. It sounds like a joke, but smooth (never crunchy) peanut butter is oily by nature, and that oil penetrates tar and separates its molecules so it breaks down more easily. Dab a little onto a microfiber cloth, apply it to the tar, let it sit about 30 minutes, then wipe off with a clean towel; the tar comes away with light pressure, and tough spots take a second application. On glass, go easy on the pressure—a tar remover is often the better choice there.
Dish soap on sap: works, slowly. A gentle dish soap like Dawn combined with warm water can remove tree sap, but other products work more quickly while still being safe, so treat dish soap as the mild, patient option rather than the fast one. It's worth remembering that dish soap is also a wax-stripper, so as with any of these methods you'll want to re-protect the paint afterwards.
Rubbing alcohol and nail polish remover: mild, paint-safe solvents. Isopropyl alcohol is the go-to for sap, dabbed on a cloth and left to soak before rubbing. Nail polish remover is a non-acidic solvent generally safe on paint that handles stubborn adhesive as well as asphalt and sap, as long as you keep it off plastic trim. Both are reasonable first reaches for spots and glue.
Now the things to be careful with. WD-40 or rubbing alcohol won't remove paint overspray, and neither will any spray-and-wipe solvent—overspray is cured paint bonded to your clear coat, and the tool for that job is a clay bar, escalating to a solvent or polish only if the clay fails. Reaching for a penetrating oil on a whole sandpapery panel just wastes time on a problem it can't solve.
Don't use gasoline to remove tar: beyond being flammable, it can damage your paint in the process, and safer products exist. Don't reach for acetone, lacquer thinner, or general-purpose paint strippers on overspray or anything else—these are far too aggressive and will soften, haze, or completely dissolve the clear coat, and they'll also destroy plastic trim, rubber seals, and headlight lenses. The pattern across every one of these is the same: a product made for cars, tested on a hidden spot, beats a harsh chemical from under the kitchen sink.
A note on a couple of remedies the forums love that the credible guides simply don't endorse: vinegar and diesel for sap or tar. None of the trusted sources here recommends either one for paint. Vinegar is acidic and sap is already acidic, so it's a poor and risky match, and diesel is exactly the kind of harsh petroleum solvent the tar-removal guidance steers you away from. Stick to rubbing alcohol, a dedicated bug-and-tar remover, or the oil-based options above, all of which are supported and safe when used correctly.
Is the Mark Permanent, and When to Stop
Sometimes you remove the contaminant and there's still a shadow, ring, or dull patch left behind. Whether that's fixable depends on how deep it went. Tree sap left on paint too long can etch into the clear coat and leave stains that sometimes can't simply be buffed out; in some cases those stains are permanent, and in others an aggressive cut and polish is needed to remove them. That's the whole reason speed matters: the difference between a two-minute wipe and a permanent stain is usually just how long the contaminant was allowed to sit.
Knowing when to stop is a skill in itself. If you've already tried a proper clay bar and a dedicated automotive solvent on bonded overspray with no success, or the contamination is thick, feels like sandpaper, and might be something tough like a two-part industrial paint, put the tools down. Pushing on to aggressive compounding or wet sanding without the right experience can burn through the clear coat and turn a cosmetic annoyance into an expensive repair. A professional detailer with the right pads and product is cheaper than a respray.
Prevent It Coming Back
Removing contaminants is reactive; the smarter play is making them easier to remove next time. Beyond wax, the basics do a lot of quiet work:
Keep protection fresh
- A well-maintained coat of wax is the single most useful habit—it creates a protective barrier against sap and other contaminants and makes them far easier to lift before they can damage the paint.
- Re-wax every few months to keep that barrier fresh and add a layer of protection against the elements.
- Avoid parking under sap-prone trees; keeping the car covered or garaged shields it from sap, bird droppings, and UV,.
- Wash regularly with a mild soap, drying with microfiber rather than letting the car drip-dry, to keep contaminants from building up and bonding in the first place,.
- Keep a small kit in the car—microfiber, a detailer spray, and a little sap or tar remover—so you can deal with a fresh spot the moment you spot it, which is always when removal is easiest.
Doing This in Kuwait's Heat and Dust
Everything above is written for temperate garages, and the Gulf changes the calculus in ways worth planning around. Heat is the big one. Warm conditions accelerate the effect of tree sap on paint, so the same drop of sap that you could shrug off for a week in a mild climate will bond and start working into the clear coat far faster on a car baking in a Kuwait car park. The practical response is to treat every contaminant as urgent here—a sap bead, a tar fleck, or a bird dropping deserves same-day attention rather than "next weekend."
Heat also sabotages the removal itself. Solvents and clay lubricants evaporate quickly on a hot panel, which is why the guides insist on working in the shade on a surface cool to the touch: try to clay or spray a solvent on a sun-baked panel and the lubricant flashes off, the clay turns gummy, and you risk marring the paint. WD-40's own tar routine says the same thing plainly—park in the shade before you start.
In practice that means doing this work early in the morning or after sunset, or under cover, and never on metal you can't comfortably rest your hand on.
Then there's the dust. Fine, ever-present Gulf dust settles as a gritty film over everything, and that grit is precisely what puts swirl marks into paint if you skip the wash-first rule. The abrasive-grit warning that underpins this whole guide—never scrub or scrape a contaminant before washing the surrounding grit away, and never clay a dirty car—is doubly important in a dusty climate, where there's simply more grit sitting on the paint at any given moment,. A thorough pre-rinse and two-bucket wash is not optional here; it's the step that decides whether you finish with clean paint or a web of fine scratches. And because a good wax barrier both repels contaminants and makes the inevitable dust easier to rinse away, keeping protection fresh pays off faster in this environment than almost anywhere else.
Cleaning Up
The bottom line
The takeaway is smaller than the pile of contradictory advice makes it feel. Identify what you're dealing with first—soft organic spots like sap, tar, and bugs; gummy adhesive residue; or an all-over gritty haze of bonded overspray. Wash before you touch any of it, work from the gentlest method upward, use clean microfiber, test solvents on a hidden spot, and reseal the paint when you're done. Rubbing alcohol and dedicated bug-and-tar removers handle the sap-and-tar family; warm soapy water, a hair dryer, and mild solvents lift adhesive; a clay bar is the only right first move for overspray. Keep the harsh stuff—gasoline, acetone, lacquer thinner—away from your car entirely, act quickly before anything etches in, and know when a stubborn case belongs to a professional rather than a more aggressive experiment.
If the heat, dust, and hard water of a Kuwait summer have left your paint speckled with tar, sap, or sticky residue and you'd rather not risk the clear coat learning as you go, Master Wash brings the full mobile car wash and paint-decontamination routine to your home or office—washed, decontaminated, and resealed on your driveway, at a time that suits you.