In this guide
- What Brake Dust Actually Is (And Why It Sticks So Hard)
- Is Brake Dust Actually Harmful, or Just Ugly?
- The One Rule That Protects Your Wheels: Skip the Acid
- The Household-Remedy Question: What Really Works and What Doesn't
- The Detail Almost Everyone Gets Wrong: Keep Wheel Tools Separate
- When Normal Cleaning Isn't Enough: Baked-On, Caked Brake Dust
- Finish-Specific Advice: Chrome, Painted, Steel, and Black Rims
- Cleaning Wheels in a Gulf Climate Like Kuwait's
How to Clean Car Wheels and Remove Brake Dust: What Actually Works
You wash your car until it gleams, step back to admire it, and then you see them. Your wheels are still coated in that fine, dark, gritty film that no amount of soapy water seems to shift. You scrub harder, and the grime just smears. In the worst spots—near the spokes and lug nuts—it's gone from a dusting to a baked-on crust that looks almost welded to the metal. Then you search for a fix, and suddenly you're drowning in contradictory advice. One source says WD-40. Another swears by dish soap. A forum insists white vinegar dissolves everything. A detailer warns that every single one of those will wreck your finish, and you should only use a special wheel cleaner that costs more than the wheels themselves. Underneath all that noise is a much simpler truth: most wheel grime comes off in minutes with the right approach. A small number of products genuinely damage your rims. The really stubborn, caked-on stuff needs a completely different tactic than scrubbing. This guide covers all of it in plain language—what brake dust actually is and why it sticks, which cleaning methods are safe and which quietly ruin the finish, exactly how to clean a wheel step by step, what to do about the baked-on grime that won't budge, and how to adapt the whole routine to the heat, dust, and hard water you deal with in a place like Kuwait. By the end you'll know what to do, what to skip, and why.
What Brake Dust Actually Is (And Why It Sticks So Hard)
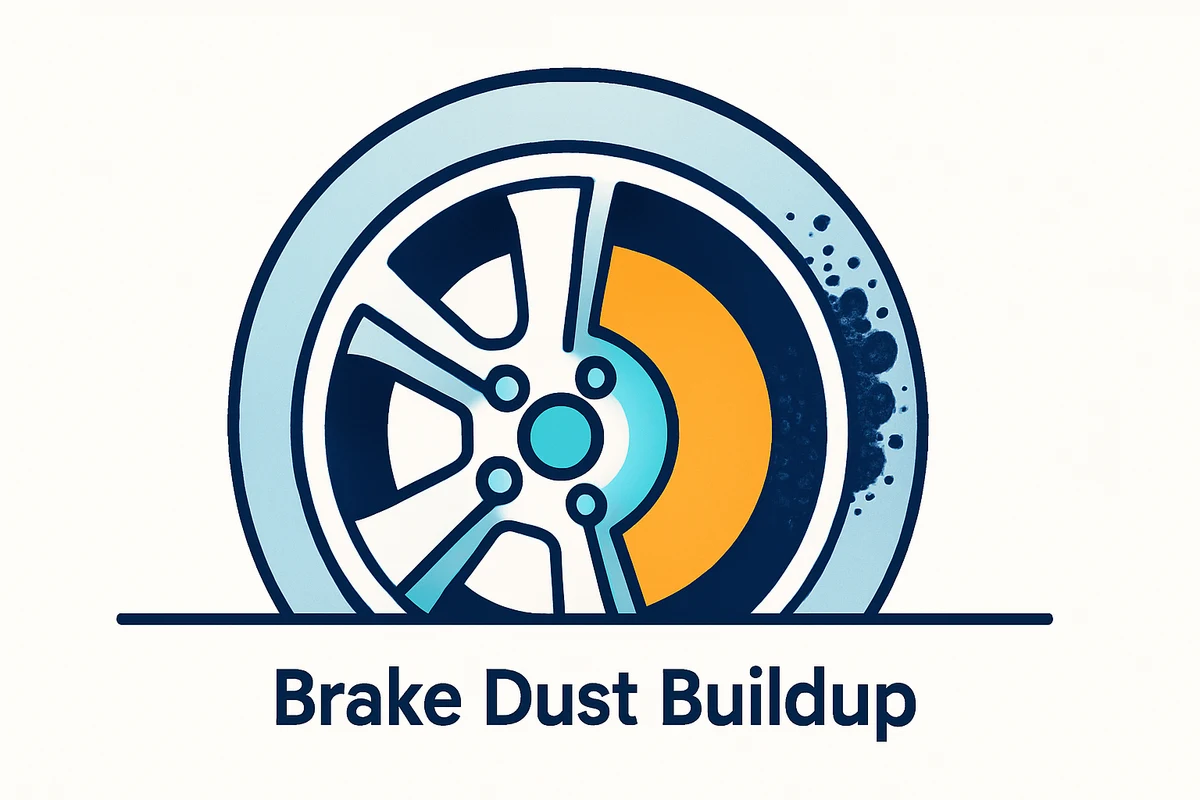
Before you clean it off, it helps to understand what you're fighting. Brake dust isn't ordinary road dirt. It forms during everyday driving. Every time you slow down, the brake pads press against the spinning rotors, and that friction produces heat and shears tiny fragments of iron, carbon, and synthetic material off both surfaces. Those particles fly off and settle directly onto the nearest surface—usually your wheels (Chemical Guys).
That's why the dust is grey-black and metallic rather than the brown of mud. And it explains why it refuses to rinse away like normal dirt. Once those hot metallic particles land, they don't just sit there loosely. Moisture, heat, and pressure work together to bake them into place. Over time they form a rough, dark coating that regular soap and water simply cannot lift. The longer it stays, the more it fuses to the surface, which is exactly why the neglected corners of your wheels end up looking permanently stained.
You won't get the same amount of brake dust as every other driver, either. Frequent braking feeds the buildup, so people who spend a lot of time crawling through traffic, taking sharp turns, or driving at higher speeds will see their wheels get dirty faster than someone doing steady highway miles. The type of brake pad matters too. Many pads are designed for stopping power and safety rather than staying clean, and as they wear down they shed more residue onto every exposed surface. If your car seems to produce way more dust than it should, your brake pads are likely the reason.
Is Brake Dust Actually Harmful, or Just Ugly?
This is one of the questions people ask most, and the answers are usually wishy-washy. It matters, though, because if brake dust were purely cosmetic you could clean it whenever you felt like it. It's not purely cosmetic. Left on the wheel too long, that dust turns stubborn and corrosive. It can begin to eat into and damage the clear protective finish on even good-looking rims. In the worst cases the corrosion causes pitting—small pinprick damage in the surface that no wash will undo, because at that point the metal itself has been marked, not just coated.
So here's the practical reality: brake dust is both ugly and, given enough time, genuinely damaging. That's the real reason detailers nag you to clean wheels regularly rather than once a season. You're not just chasing a shine—you're removing something actively working against the finish. A rim that looks permanently dull or feels rough to the touch may already have finish damage from dust that sat too long. Staying on top of cleaning is what prevents that from ever happening.
The One Rule That Protects Your Wheels: Skip the Acid
If you remember nothing else from this guide, remember this: the single biggest way people ruin their own wheels is by reaching for something too harsh. It feels logical that a stronger, more aggressive cleaner will cut through stubborn grime faster. It might. But it can take the finish with it.
Acidic rim cleaners—the ones with a pH somewhere between 1 and 5—can attack the surface of the rim over time. They're especially unsuitable for shiny materials like chrome and polished alloy (Kärcher). The safe choice is a cleaner that's as acid-free as possible, because that's far gentler on the material. One detailing manufacturer that spent years formulating a wheel cleaner settled on exactly this principle: they wanted something pH balanced, meaning neither acidic nor alkaline. That's because harsh acid or stronger alkaline formulas work to compromise the surface finish of wheels and calipers—an effect made worse because those parts already go through thousands of dramatic heat cycles (Bowden's Own). Their own alloy wheels had once been damaged by a big brand's supposedly "safe for all wheels" cleaner, which is what set them looking for something genuinely safe in the first place.
The lesson is this: "wheel cleaner" on a label doesn't automatically mean safe for your wheel, and "industrial strength" is a warning, not a selling point. Ford's own guidance for its alloy wheels puts it bluntly: industrial cleaners are a real no-no. You should use a shampoo made for the job instead (Ford). A quality, pH-balanced, non-acidic wheel cleaner is safe across painted, alloy, anodised, chromed, clear-coated, powder-coated, aluminium, and other finishes—which is why it's the tool detailers reach for first.
The Household-Remedy Question: What Really Works and What Doesn't
The internet is full of kitchen-cupboard wheel-cleaning hacks, and this is where most of the contradictions come from. Some of these genuinely work. Some are a waste of time. A couple can quietly damage your rims. Here's the honest breakdown, one by one.
Dish Soap (Dawn and similar)
Dish soap has a real but limited role. On painted and coated rims, a gentle wash-up liquid is a good first move: add a few squirts to a bucket of lukewarm water and clean the surface with a sponge—preferably microfibre—then rinse and dry. If the dirt or baked-in brake dust doesn't come off with this gentle method, dish soap won't muscle through it. Step up to an acid-free rim cleaner. Think of dish soap as the light-duty option for maintenance, not the tool for a wheel that's been neglected for months.
WD-40
WD-40 shows up in nearly every wheel-cleaning search, usually with someone swearing it makes brake dust vanish. It can loosen some sticky residues the way any solvent might, but it's not formulated to be safe or effective across the range of wheel finishes. There's no need to gamble your rims on it when a purpose-made, pH-balanced cleaner does the actual job it was designed for and is proven safe on the finish. Skip the WD-40 tip.
Vinegar
White vinegar is the other viral favourite, and this one deserves real caution. Vinegar is acidic. Remember the core rule: acidic products—roughly in that pH 1-to-5 range—can attack the surface of a rim over time and are particularly risky on shiny chrome and polished alloy. Harsh acidic formulas are exactly what compromise a wheel's finish. Vinegar sits firmly in that acidic category. It might strip a bit of surface grime in the moment, but you're applying an acid to a finish that acids are known to harm. It's not a trade worth making, especially on nicer wheels.
Toothpaste and Baking Soda
These two are genuinely useful in narrow situations. Toothpaste works as a mild cleaner on aluminium: moisten a cloth, apply a little, and rub until the dirt lifts, then rinse. Because it contains fine abrasive particles, it can even polish out light scratches. But that same abrasiveness means it can scratch or dull highly polished and chrome rims, so it's the wrong choice there. Baking soda is the go-to home remedy for chrome specifically, where acidic cleaners are off-limits: mix about three tablespoons of sodium bicarbonate with a little water into a paste, then rub it over the rim in circular motions with a soft cloth until the deposits lift. Whatever home remedy you use, test it first on an inconspicuous spot before committing to the whole wheel.
The Magic Eraser
A melamine "Magic Eraser" can remove brake dust, but it's a mild abrasive and can scratch delicate finishes if you're not careful. Test it on a hidden spot first and use it with water rather than dry (Chemical Guys). For routine cleaning, a pH-balanced wheel cleaner and a soft brush are the safer everyday pairing.
How to Clean Your Wheels, Step by Step
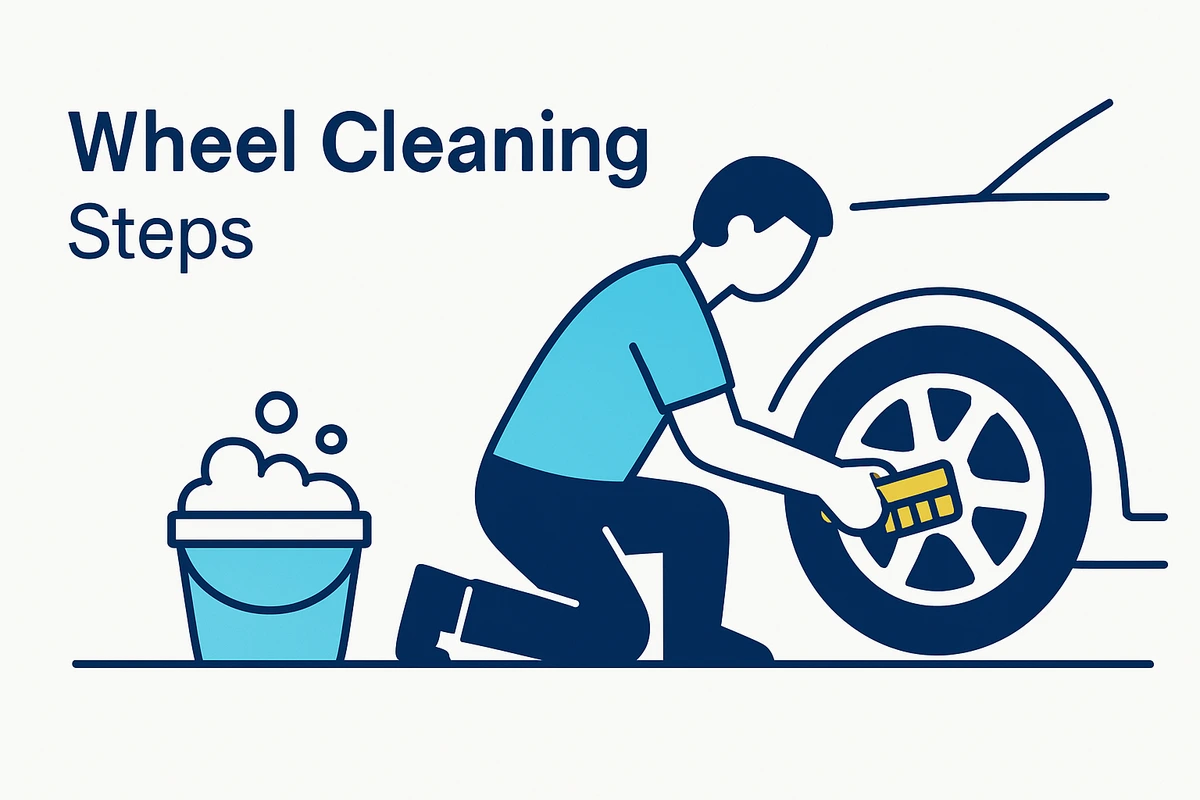
With the theory covered, here's the actual routine. It's not complicated, and the order matters more than most people realise.
-
1
Start with the wheels, not last
Clean your wheels before you wash the rest of the car, not after. Cleaning them first stops you from splashing grime onto a body you've already washed. It also means the wheel cleaner runoff gets rinsed away when you wash the car afterwards.
-
2
Let the wheels cool first
Before anything else, make sure the car has been sitting so the wheels are cool to the touch. If you've just been driving, give them time. This isn't a minor detail. A hot wheel dries cleaner far too quickly. Spraying product onto a warm surface, or letting it dry on, is what leaves a stubborn white residue you then have to polish off—particularly on porous or unsealed finishes.
-
3
Rinse off the loose grime
Give the wheel a good rinse from top to bottom to wash away the top layer of loose brake dust and grit. This step does more than it looks: rinsing away the gritty surface particles first means they're not dragged around under your brush later, where they'd scratch the finish. Work from the top down. You can use a bucket of water, a hose, or a pressure washer for this.
-
4
Apply the wheel cleaner and let it dwell
Now coat the wheel with your acid-free cleaner. Make sure to cover every spoke, the inner barrel, and each crevice. Then leave it alone for a minute or two while the product does the chemical work of lifting the contaminants. A typical acid-free cleaner is left to act for roughly one to three minutes before rinsing. Many wheel cleaners are designed to react visibly with the iron in brake dust, changing colour—often to purple or red—as they work. That colour change is the cleaner converting the metal deposits into a form that simply rinses away with water. A more dramatic colour change isn't automatically a sign of better cleaning; some products with the most vivid reaction weren't actually the best at removing dirt. Judge a cleaner by results, not theatrics. One more timing point that matters enormously in a hot climate: spray the cleaner onto a cool, shaded wheel surface, because direct sunlight makes the cleaner dry too quickly and reduces how well it works.
-
5
Agitate with the right brush
After the dwell, work the cleaner into the surface with a brush. Start on the face of the wheel, then switch to a smaller detailing brush or a soft old toothbrush for the lug-nut holes and tight spots between the spokes. Let the bristles and the cleaner do the work rather than pressing down hard. A dedicated wheel brush is worth using because it's designed for the job and gives better results without scratching, unlike a random household brush. A purpose-made wheel washing brush with all-round bristles cleans in every direction and reaches into the smallest gaps. A soft old toothbrush handles the tightest spots.
-
6
Rinse thoroughly and dry
Flush all the loosened dust and cleaner away with fresh water, again working from the top down in overlapping passes until every trace of product has run off. Then dry the wheel. Don't skip this. Drying with a microfibre or leather cloth prevents water spots. It's especially important on chrome and black rims where water marks show up most. A microfibre towel also avoids leaving the scratches a coarser cloth might.
-
7
Work one wheel at a time
Don't spray all four wheels at once. Focus on one wheel from start to finish before moving to the next. That way the cleaning agents have time to work without drying out on a wheel you haven't got to yet.
The Detail Almost Everyone Gets Wrong: Keep Wheel Tools Separate
Always clean the wheels and tyres with separate tools from the rest of the car. The road dirt, small stones, and gritty deposits that come off your wheels can scratch and damage the vehicle's paintwork if the same brush or mitt is then used on the body. A wheel brush picks up embedded metal and grit; drag that across your door panel and you've effectively sanded it. Keep a dedicated wheel brush and a dedicated wheel bucket. Never cross-contaminate. This one habit protects the whole car, not just the rims.
When Normal Cleaning Isn't Enough: Baked-On, Caked Brake Dust
Everything above handles ordinary wheels. But what about the wheels that have been neglected for years? The ones where the brake dust has gone hard and dark in the corners and laughs at your brush? This is the single most under-answered question online. It needs a different strategy because scrubbing harder isn't it.
Consider a real, documented case. An owner of a BMW had severely caked-on brake dust in the corners of the wheels. For years he tried to scrub it out with a toothbrush every time he washed the car. It never worked (Red Eye Garage). He went through the whole escalation ladder that forums suggest: dedicated wheel cleaners, Goo Gone, a clay bar, careful picking with a razor blade, even masking the area and trying a small stainless steel brush. None of it removed the baked-on stains. He was ready to pay around a thousand dollars to have the wheels professionally refinished.
What finally worked tells you something important about the nature of the problem. A non-acidic, pH-neutral wheel cleaner, sprayed on and left for three to five minutes as directed, removed all the recent brake dust but still couldn't shift the years-old caked layer. Agitating with a nylon brush helped, but the front wheels with the worst buildup still resisted. The breakthrough came from changing tactics entirely: instead of scrubbing, he let the chemistry do the work. He kept the cleaner in prolonged contact with the stain. He laid strips of cleaner-soaked paper over the stubborn spots, then covered them with plastic cling wrap to stop the product drying out. He left it to soak for as long as a full day before scrubbing off the now-softened dust. Severe areas needed several rounds. The whole job took about a week. But it worked and saved the cost of refinishing.
There are two honest cautions with that technique. First, letting a wheel cleaner sit for hours under wrap isn't what manufacturers recommend. They generally instruct you not to let the product dry on the wheel. So you're venturing beyond the directions and doing so at your own risk. Second, the soaked paper only clings well to roughly the bottom third of a wheel at a time. So it involves a lot of rotating, waiting, and repeating. But the core principle is sound: for truly baked-on brake dust, dwell time beats elbow grease. Giving a safe, non-acidic cleaner longer to chemically break down the deposit does what scrubbing cannot.
If the dust has already caused pitting in the finish, cleaning alone won't restore it. In that case the next step is a polish made for metal rims to smooth the surface. For deep pitting it's worth consulting a professional detailer.
Finish-Specific Advice: Chrome, Painted, Steel, and Black Rims
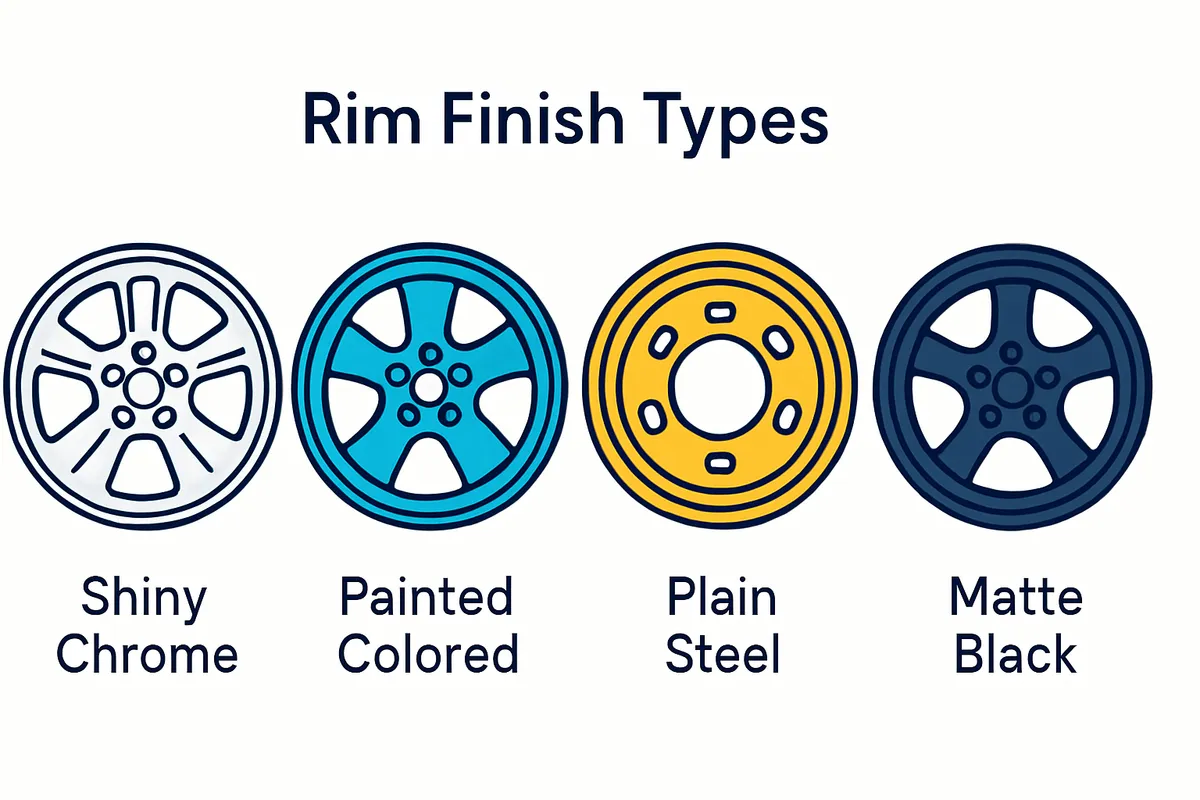
Not all wheels are the same. The right approach depends on what yours are made of.
Key terms
- Painted and coated rims
- The most common type. Dirt and baked-in brake dust can damage the paint if left. Clean gently: a wash-up liquid in lukewarm water and a microfibre sponge for light grime. Step up to an acid-free rim cleaner if that's not enough.
- Chrome rims
- Need special care because the acid in many rim cleaners can damage the delicate chrome surface. Use gentle agents like soap and water, or the baking-soda paste described earlier. Polish the chrome regularly so it keeps its shine.
- Steel rims
- Can actually rust, unlike aluminium. Surface rust on a steel rim can be removed with a wire brush and then touched up with an emery cloth.
- Aluminium and alloy rims
- Can't rust, but moisture and road salt can still leave their mark through oxidation or salt corrosion. Because aluminium scratches easily, any such marks should be removed very carefully with a soft brush and the surface then polished.
- Black and chrome finishes
- Show water spots more than any other. That's the practical reason to always dry them promptly with a soft leather or microfibre cloth rather than letting them air-dry.
Frequently asked questions
Can You Really Clean Rims "Without Scrubbing"?
A lot of people search specifically for a no-scrub method. The answer is a qualified yes, thanks to exactly the chemistry described above. A good wheel cleaner that reacts with the metal in brake dust converts it into a water-soluble form that rinses off with a pressure washer or hose. On genuinely dusty wheels that reaction can do around 90 percent of the cleaning for you. That rises toward 95 percent or more if you clean weekly so the dust never gets a chance to bake on. In other words, the more regularly you clean, the less you ever need to scrub. The scrubbing is really only for what the chemistry leaves behind. On a well-maintained wheel that's very little. This is the strongest argument for frequent, quick cleans over occasional heroic ones.
Can You Pressure Wash Your Rims?
Yes. A pressure washer is genuinely useful for flushing cleaner and grime out of tight wheel wells and gaps. The cautions are simple: use a gentle setting and a wider spray. Keep the nozzle at a sensible distance to protect delicate finishes. Avoid blasting the brake components directly. Standing back slightly with a wide nozzle gives you the rinsing power without the risk of driving water or force where it shouldn't go. For tar spots—which often appear low on the wheel and lower body—a dedicated tar-removing spray is the right tool rather than trying to scrub them off.
Cleaning Wheels in a Gulf Climate Like Kuwait's
Most wheel-cleaning advice is written for mild, temperate places. A few of the steps above become far more important when you're working in the heat, sun, dust, and hard water of a country like Kuwait. It's worth pulling these together, because the climate quietly changes the game.
The most direct issue is heat. Two of the steps above are really the same warning: let the wheels cool before you start, and apply cleaner to a cool, shaded surface. A warm wheel and direct sun dry the product too fast, weakening its cleaning power and risking a white residue you then have to buff off;. In a Gulf summer, a wheel that's been driven on, or even just parked in the sun, is rarely cool. The cleaner can flash-dry in seconds. The practical adaptation is to clean wheels in the early morning or evening, in shade. Work strictly one wheel at a time so nothing dries before you've rinsed it. If you can, park in the shade for a while first so the wheels aren't radiating heat.
Dust is the second factor. Fine airborne dust is a constant here. It settles on everything, which means wheels pick up a gritty film quickly even without heavy braking. The sensible response is frequency rather than force: a fast rinse between proper washes keeps that dust from settling in and combining with brake dust into something harder to remove. Remember that regular, light cleaning is what lets the chemistry do almost all the work and spares you the scrubbing.
Hard water is the third. Water with a high mineral content leaves spots as it dries. Those show up worst on darker and chrome wheels. This is exactly why the drying step isn't optional in this climate: dry each wheel promptly with a microfibre or leather cloth instead of letting the sun bake mineral spots onto the surface;. Combine hard water with intense sun and an undried wheel can spot in minutes. So keep a dry towel in hand and finish each wheel before the water evaporates on its own.
Cleaning is only half the job. A few simple habits keep your wheels cleaner for far longer and make every future clean easier.
Keeping Brake Dust From Coming Back
- Seal the wheel after cleaning. Applying a wheel sealant, wax, or ceramic coating once the rim is clean adds a slick protective barrier that helps repel brake dust, water, and grime. Less sticks in the first place and the next clean is quicker. A ceramic coating in particular can noticeably reduce future maintenance and keep wheels looking good for longer.
- Address the source. Because a lot of dust comes from the brake pads themselves, switching to ceramic or low-dust pads next time your brakes are serviced means the wheels shed far fewer particles to begin with. It's worth asking about at the shop.
- Clean regularly rather than rarely. A quick rinse between washes stops brake dust from settling and baking on. So it never becomes the permanent-looking crust that needs the soaking treatment. As a rough guide, giving the wheels a proper clean every one to two weeks keeps buildup from ever getting a foothold. A clean microfibre towel kept handy for a fast wipe of the rim faces when you notice dust goes a long way between full washes.
The bottom line
Cleaning wheels well isn't about buying the most aggressive product or scrubbing the hardest. It's about understanding what brake dust is, respecting the finish, and letting a safe, pH-balanced, acid-free cleaner do its chemical work with enough dwell time. Cool the wheels. Rinse first. Apply cleaner in the shade. Give it a minute or two. Agitate gently with a dedicated brush. Rinse fully and dry to beat the water spots, doing one wheel at a time and keeping your wheel tools well away from the paint. Skip the acid. Skip the WD-40. Use dish soap and toothpaste only where they belong. For baked-on dust reach for patience and dwell time rather than a razor blade. In Kuwait's heat, sun, dust, and hard water, the timing and drying steps matter more than anywhere. So clean early or late, in the shade, one wheel at a time, and dry as you go.
If keeping on top of all of this at home in the heat is more than you want to take on, this is exactly the kind of job a mobile service is built for. Master Wash brings its Mobile Car Wash to wherever your car is parked. Your wheels get cleaned properly, in the shade, at your home or workplace, without you standing over a hot rim with a brush in the midday sun.